
Christmas Trash Bars: A Sweet, Festive Holiday Treat
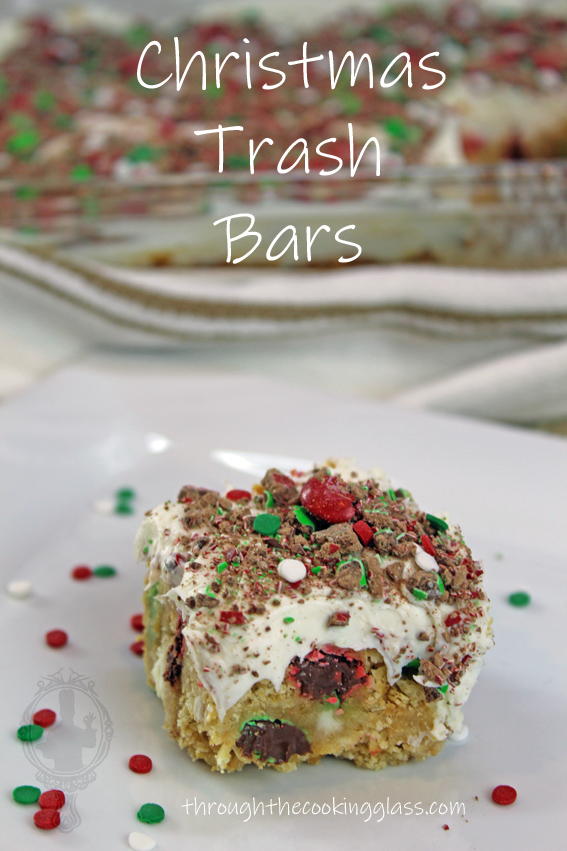
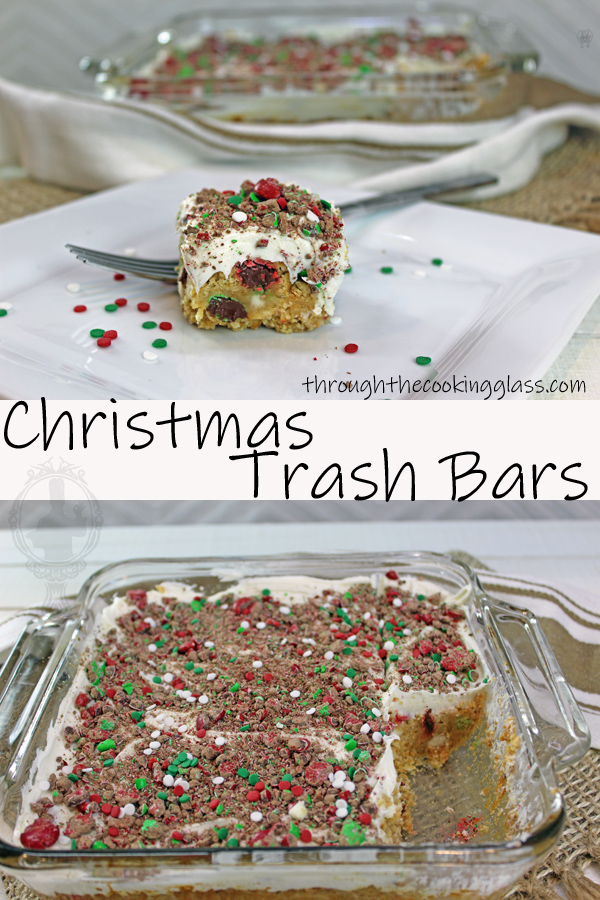
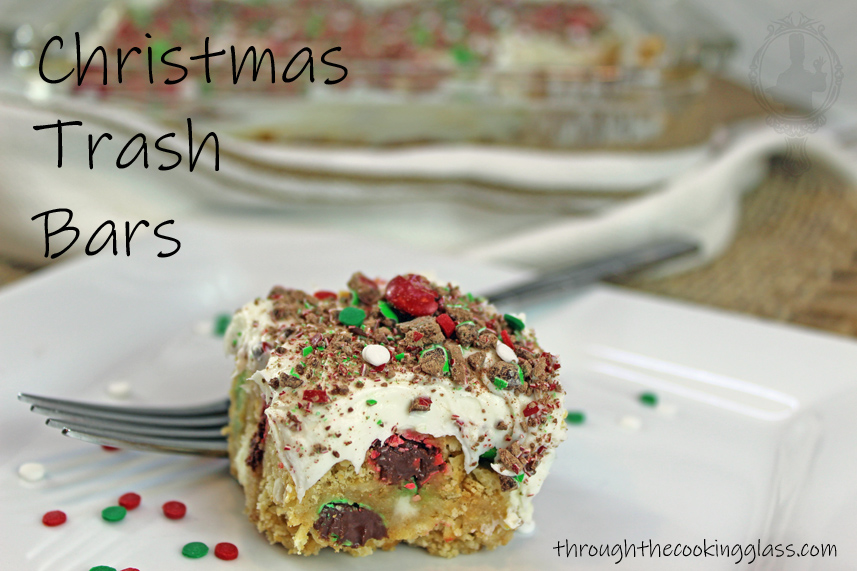
Don’t let the instructions fool you—these Christmas Trash Bars are much easier than they look. I broke everything down step by step, so you can build all those colorful, crunchy, gooey layers without stress. The result is a rich holiday dessert that looks right at home on a cookie tray, at a party, or wrapped up as a homemade gift.
Can You Handle Sweet?
If you can’t handle a seriously sweet dessert, this may not be the one for you! I don’t eat much sugar, so one bite is about all I can manage. No joking—these bars are rich. That is also why they are perfect for sharing: a small square delivers plenty of holiday sweetness.
When I gave one to my husband, he took a bite and asked, “Are you planning on sleeping tonight?” I said, “Yeah, why?” He answered, “Not if you’re eating these.” I just smiled and told him, “Oh, I only had one bite. The question is, are you planning on sleeping tonight?” He is my official taste tester and recipe checker-outer. If he approves, we’re good to go!
How to Cut and Portion the Bars
Let the bars cool completely before cutting. For the neatest pieces, chill the pan briefly, lift the slab out with parchment paper if you used it, and cut on a board with a sharp knife. Wipe the blade clean between cuts. I originally cut an 8×8-inch pan into 12 squares, but 16 bite-size pieces are easier to serve because these bars are so rich. Of course, you might be a beast and go bigger. Go big or go home, right?
Tips and Tricks for the Best Christmas Trash Bars
- Line the pan: Leave parchment paper hanging over two sides so the finished bars can be lifted out easily.
- Build even layers: Scatter each ingredient from corner to corner. Every bite should get a little of everything.
- Press gently: Lightly press loose toppings into the layer beneath them so they stay put, but do not pack everything down too hard.
- Watch the edges: The bars are ready when the edges look set and the top is lightly golden. Overbaking can make the layers dry or hard.
- Cool completely: Warm bars are delicious but messy. Cooling—and a short chill—helps the layers set for cleaner slices.
- Balance the sweetness: A light sprinkle of flaky salt or a few salty pretzel pieces can add contrast if they fit your ingredient list.
Fun Facts
The “trash” in the name is all about the fun mix of goodies piled into one pan—nothing goes to waste here! Layered dessert bars are popular for holiday baking because one batch creates many shareable pieces, and the basic idea is easy to customize with seasonal candy colors. Red, green, and white make this version feel unmistakably Christmas, while the same dessert can be dressed up for other holidays simply by changing the toppings.
If you like these Christmas Trash Bars, check out my other seasonal versions. They use the same playful idea with a different color scheme:
Serving Suggestions
- Arrange small squares on a holiday cookie tray with simpler cookies so guests can choose their sweetness level.
- Serve with cold milk, hot coffee, or unsweetened tea to balance the richness.
- Add a small scoop of vanilla ice cream for an extra-special plated dessert.
- Pack individual pieces in mini paper liners for parties, bake sales, or treat boxes.
- For gifting, stack the bars between pieces of parchment paper in a snug container and add a festive ribbon.
More Christmas Goodies
Storage and Make-Ahead Tips
Cool the bars completely before storing so trapped steam does not make the layers sticky. Place them in an airtight container with parchment or waxed paper between layers. For the best texture, keep them at room temperature for up to 4–5 days if your kitchen is cool. If your toppings are especially soft or your home is warm, refrigerate the bars instead and let them sit at room temperature for a few minutes before serving.
To freeze, wrap individual bars or small stacks tightly, then place them in a freezer-safe airtight container or bag. Freeze for up to 3 months for best quality. Thaw the bars in their wrapping at room temperature so condensation forms on the wrapper instead of the dessert. You can also bake the whole batch a day or two ahead, cool it, cover it tightly, and cut it closer to serving time.
Items Used in This Recipe
If you are interested in any of the items I used, or similar products, I have listed a few below. Note: These are affiliate links. I may receive a small commission from qualifying purchases, at no additional cost to you.
If you like this dish—or any other recipe on my site—feel free to sign up for the weekly email to see what is new in my kitchen. Look for the sign-up button in the sidebar.
If you have a question or spot a blooper, please don’t hesitate to contact me. We’re all human!
This post may contain affiliate links. Please view my disclosure policy for more information.
Rock on!
~Bobbi

Christmas Trash Bars
Equipment
- 8×8 baking dish or 8×8 cake pan
- Food Processor
Ingredients
- 3 Rolls Ritz Crackers Not the half size roll
- 1 Can (14 oz) Sweetened Condensed Milk
- 6 Oz White Chocolate Chips
- 4 Oz Christmas (Green/Red) M&Ms
- 1 Tub (16 oz) Vanilla Frosting
- Sprinkles (optional)

Instructions
- Preheat oven to 350°, Spray 8×8 baking dish
- Crush Crackers Finely. You can do this by hand, or with a food processor.
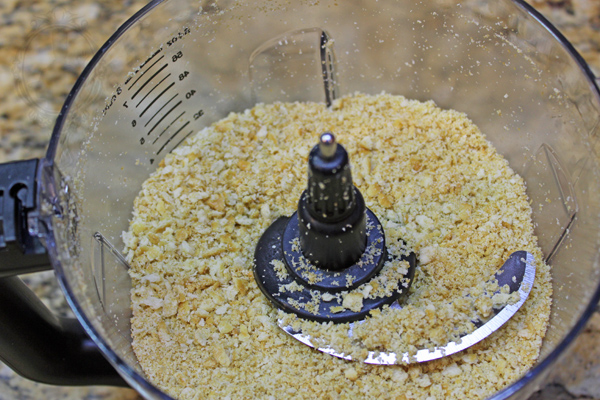
- Pour the crackers in the baking dish.

- Pour the sweetened condensed milk over the crackers.

- Add the white chocolate chips.

- Add half of the M&Ms

- Mix the ingredients well. Pat the mixture down to compress it all together.

- Bake for 15-20 minutes at 350°, or until the edges start to bubble and carmelize. Let cool for an hour or so. While the "base" is cooling. Chop/crush your remaining M&Ms.
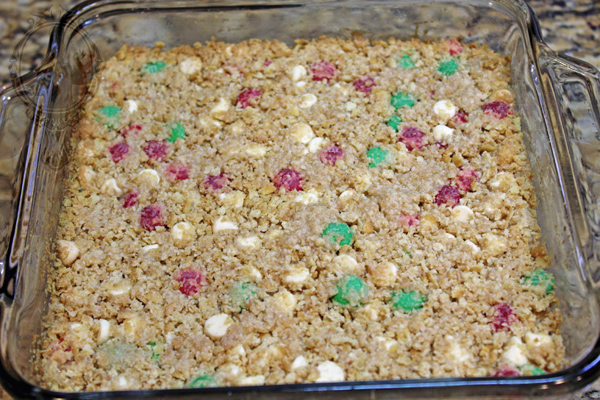
- Slather on the vanilla frosting.
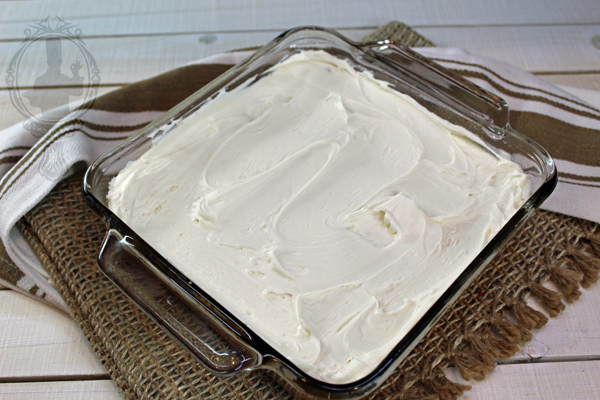
- Sprinkle the crushed M&Ms and sprinkles over the top of the frosting.

Notes
Nutrition


Pingback: Christmas Cookie Fudge – Through the Cooking Glass
Pingback: Reeses Pieces White Chocolate Fudge – Through the Cooking Glass
Pingback: Halloween Trash Bars – Through the Cooking Glass
Really good.
Pingback: Christmas Cookie Fudge | Through the Cooking Glass