
Candy Dipped Cookies
These Candy Dipped Cookies are the easiest treats to make yet!! I made these for my daughter’s baby reveal party, and they were such a cute addition to the dessert table. I found out what the gender was going to be before she did, so my oldest daughter and I had the fun job of planning the surprise. We wanted something sweet, simple, and easy to match with the party colors, and these little dipped cookies were perfect.
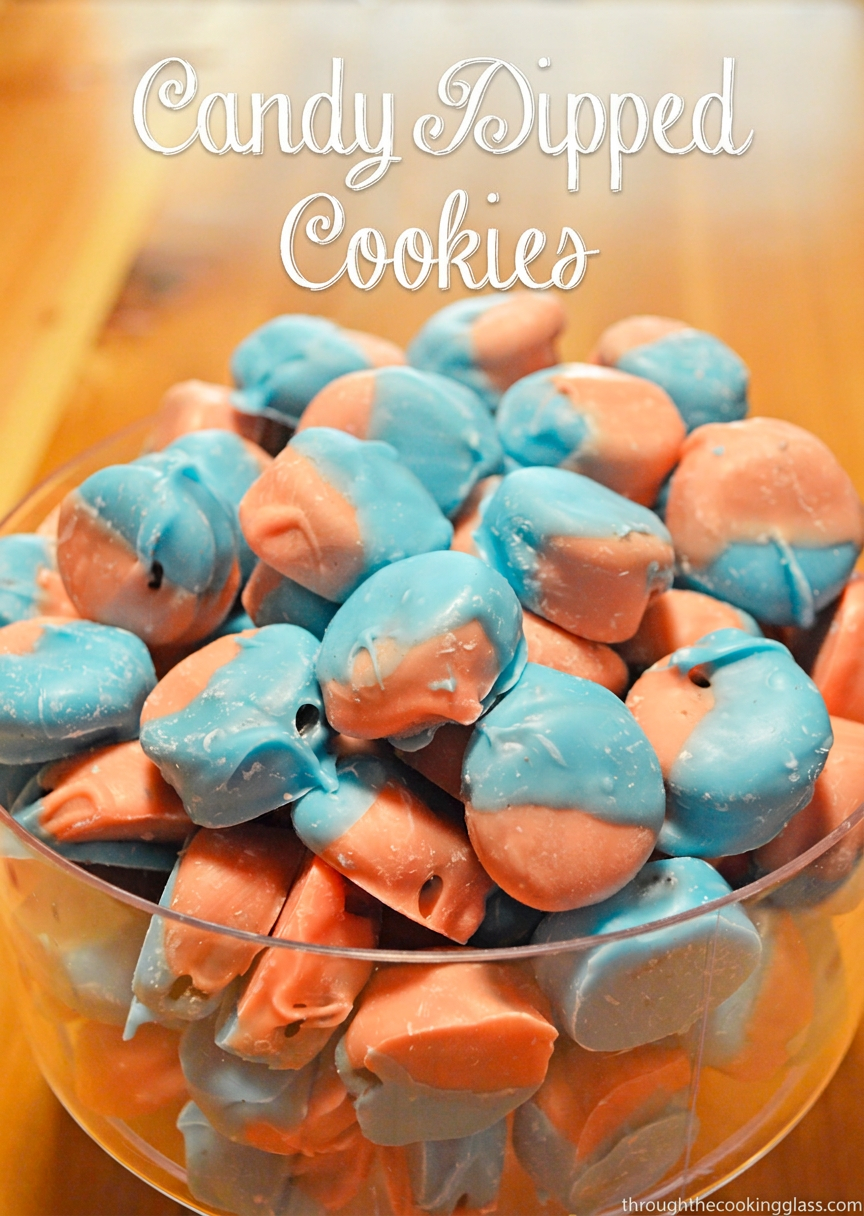
You see, for most gender reveal parties, the guests do NOT know the sex of the baby, so you typically decorate with both colors until the big reveal. Pink and blue candies, balloons, napkins, and treats make the whole table feel festive without giving anything away. Just in case you’re wondering…she’s having a BOY!! They’re excited. Makes grandbaby #7 for me, and yes, I am soaking up every minute of it.
Back to the cookies. All you need is mini Oreos and Wilton Candy Melts. Seriously, this couldn’t be easier. Melt your desired color of candy melts, dip your cookies, let them set, and you have an adorable bite-sized treat that looks like you spent way more time on it than you actually did. That is my kind of party recipe.
Fun Facts About Candy Dipped Cookies
- Mini sandwich cookies are the perfect party size because guests can grab one or two without needing a plate or fork.
- Candy melts come in so many colors, which makes this recipe easy to customize for baby showers, birthdays, holidays, school parties, game days, and wedding showers.
- Dipped cookies look fancy, but they are one of the fastest no-bake treats you can make when you need something cute in a hurry.
- You can make these with regular Oreos, mini Oreos, vanilla sandwich cookies, peanut butter sandwich cookies, or even graham crackers.

Tips and Tricks
- Melt the candy melts slowly. Heat them in short bursts and stir between each one so the candy stays smooth instead of getting thick or grainy.
- If the melted candy seems too thick for dipping, stir in a tiny amount of shortening or coconut oil until it loosens up. Start small because a little goes a long way.
- Use a fork, dipping tool, or toothpick to lift each cookie out of the melted candy. Tap gently on the side of the bowl so the extra coating drips off.
- Place the dipped cookies on parchment paper or wax paper to set. This keeps them from sticking and makes cleanup much easier.
- Add sprinkles while the coating is still wet. Once the candy sets, the sprinkles will not stick as well.
- For a neater look, drizzle a second color of melted candy over the top after the first layer has set.
Serving Suggestions
Serve these candy dipped cookies on a platter, cake stand, or tiered tray with other bite-sized desserts. For a baby reveal party, mix pink and blue cookies together until the big announcement. You can also place a few in small treat bags, tie them with ribbon, and send them home as party favors.
These are also fun alongside cupcakes, chocolate-covered pretzels, cookies, popcorn, fruit trays, or a simple punch bowl. If you are making them for a holiday, switch up the colors: red and green for Christmas, orange and black for Halloween, red and pink for Valentine’s Day, or green and white for St. Patrick’s Day.

Storage Tips
Once the candy coating is completely set, store the cookies in an airtight container at room temperature. Keep them in a cool, dry place so the coating does not soften. If you need to stack them, place a sheet of parchment paper between layers to help protect the decoration on top.
These cookies are best enjoyed within a few days, but you can make them a day ahead for a party. I would not leave them sitting in direct sunlight or in a warm car, especially if you are using them for an outdoor event. Candy coating can melt faster than you think, and nobody wants a tray of sticky cookies.
Have you ever been to a gender reveal party? It was fun!
Red White n Blue Nutter Butters
ITEMS/INGREDIENTS USED IN RECIPE – If you are interested in any of the items I may have used (or are similar to the items I used) in making this recipe, I have listed some of them below. NOTE: These links are affiliate links of which I receive a small commission from the sale of certain item. This does not affect your price, it remains the same.
If you like this or any other dish on my site, please feel free to sign up for the weekly email where you can see what new recipe we have created over here. Just look over to the side and you’ll find the “sign up” button.
If you have any questions or see any “blooper” we made, please don’t hesitate to contact us. We’re all human.
This post may contain affiliate links. Please view my disclosure policy for more information.
Rock on!
~Bobbi

Candy Dipped Cookies
Equipment
- 9 x 13 Baking Sheet
Ingredients
- 1 Bag (12 oz) Wilton Candy Melt, Pink
- 1 Bag (12 oz) Wilton Candy Melt, Blue
- 1 Box Mini Oreos

Instructions
- Pour each bag into a separate bowl. Melt each bowl in the microwave on low or defrost setting for 30 seconds. Stir. Repeat at 15-20 second intervals until melted. NOTE: You can over cook this and it will become hard and lumpy. If this happens, add 1-2 tbsp crisco and reheat at 15-20 second intervals.
- Dip half the cookie in one of the colors and set on a cookie sheet lined with wax paper. Let candy coating set. You can put in the fridge and it will set faster. I waited an hour in between dips.

- After first coat is set. Dip in the opposite color and set again.

Notes
Nutrition


I want cookies now. I think that is a cute idea for a gender reveal.
Leslie recently posted…HOT ARTICHOKE PARMESAN SPREAD
Thanks Leslie. Since we were using the silly string to reveal I couldn’t actually use my food. But I wanted to 😉 Appreciate you stopping by as always!!