
Easy No-Bake Chocolate Whip Pie
I know it’s not summer, so the “no-bake” part may not sound quite as exciting as it does in July. Still, there is something wonderful about a dessert that comes together quickly, uses simple ingredients, and never asks for oven space. This Chocolate Whip Pie is one of the pies I took to my son’s house for Thanksgiving. When you’re responsible for dessert, an easy make-ahead pie is a very good thing!
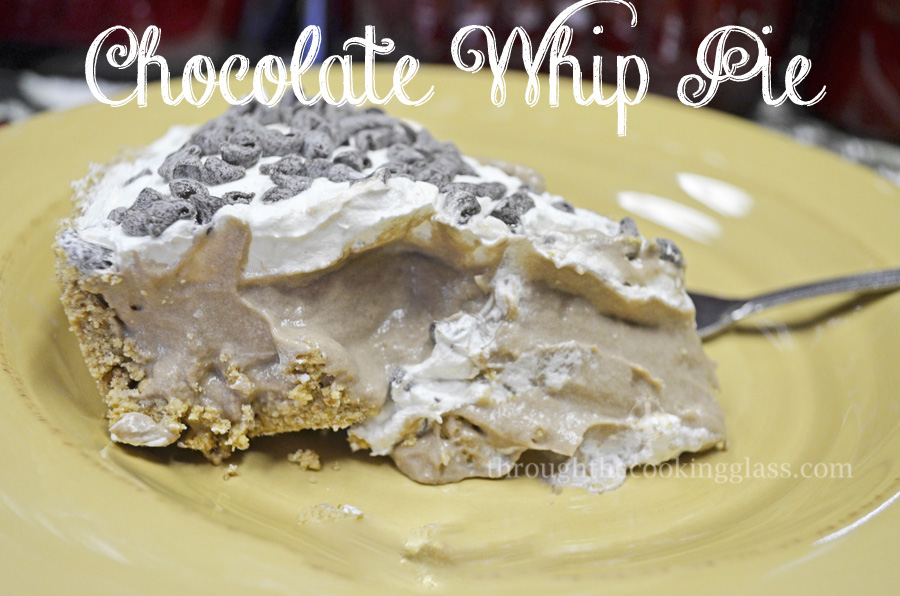
And yes, I cheated with this one. Surprise! I used a pre-made graham cracker crust, prepared chocolate pie filling, and whipped topping, then added cream cheese for a little extra richness and finished everything with mini chocolate chips. While I was making it, I wished I had mini mint chocolate chips. How fun would that have been? Then peanut butter chips crossed my mind. Why can’t I think of these things before I make the pie? Ever have that problem?
This pie works just as well for a holiday table as it does for a summer cookout, birthday, potluck, or casual family dinner. In warm weather, it keeps the kitchen cool; during busy celebrations, it saves precious time. Either way, serve it well chilled for the creamiest texture and cleanest slices.
Why You’ll Love This Chocolate Whip Pie
- No oven required: The refrigerator does the work, leaving the oven free for the rest of the meal.
- Shortcut-friendly: A prepared crust and ready-to-use filling make this approachable even on a packed day.
- Make-ahead convenience: The pie benefits from chilling, so you can finish it before guests arrive.
- Easy to customize: Change the chips, crust, topping, or garnish to suit the occasion.
Fun Facts
- Graham cracker crusts are a classic partner for creamy pies because their lightly honeyed crunch balances a soft filling.
- No-bake pies are close cousins of old-fashioned icebox desserts, which set and soften in the refrigerator instead of the oven.
- Chocolate pairs beautifully with mint, peanut butter, coffee, caramel, berries, banana, orange, and warm spices, so one basic pie can inspire plenty of variations.
- A contrasting garnish does more than look pretty: chips, chopped nuts, cookie crumbs, or chocolate shavings add texture to every bite.
Tips and Tricks for the Best Pie
- Soften the cream cheese: Let it sit at room temperature until easily pressed with a finger. Soft cream cheese blends smoothly and prevents little lumps.
- Beat, then fold: Beat the cream cheese until silky before adding the filling. Fold in the whipped topping gently so the mixture stays light and fluffy.
- Keep cold ingredients cold: Chill the pie filling and thaw the whipped topping in the refrigerator. A cool mixture sets more reliably.
- Give it time: Refrigerate the finished pie for at least two to four hours; overnight is even better for neat slices.
- Use a clean knife: Dip a sharp knife in hot water, wipe it dry, and clean it between cuts.
- Wait to garnish: Add cookies, candy, or delicate fruit shortly before serving so they stay crisp and fresh-looking.
Easy Flavor Variations
- Chocolate mint: Add mini mint chips or crushed chocolate-mint candies.
- Chocolate peanut butter: Sprinkle peanut butter chips on top or add a light peanut butter drizzle just before serving.
- Mocha: Add a small amount of instant espresso powder to the filling for a coffeehouse-style flavor.
- Cookies and cream: Use a chocolate cookie crust and finish with crushed sandwich cookies.
- Berry chocolate: Top each slice with raspberries or sliced strawberries for a bright, fresh contrast.
- Salted caramel: Add a thin caramel drizzle and a tiny pinch of flaky salt at serving time.
Serving Suggestions
Serve the pie straight from the refrigerator on chilled dessert plates. For a simple finish, add a dollop of whipped topping and a few mini chocolate chips to each slice. For a holiday table, decorate the whole pie with chocolate curls, crushed peppermint, or festive sprinkles. At a summer gathering, fresh berries keep the dessert from feeling too heavy. Coffee, cold milk, or hot cocoa are natural partners, and smaller slices are usually plenty because the filling is rich.
Storage and Make-Ahead Tips
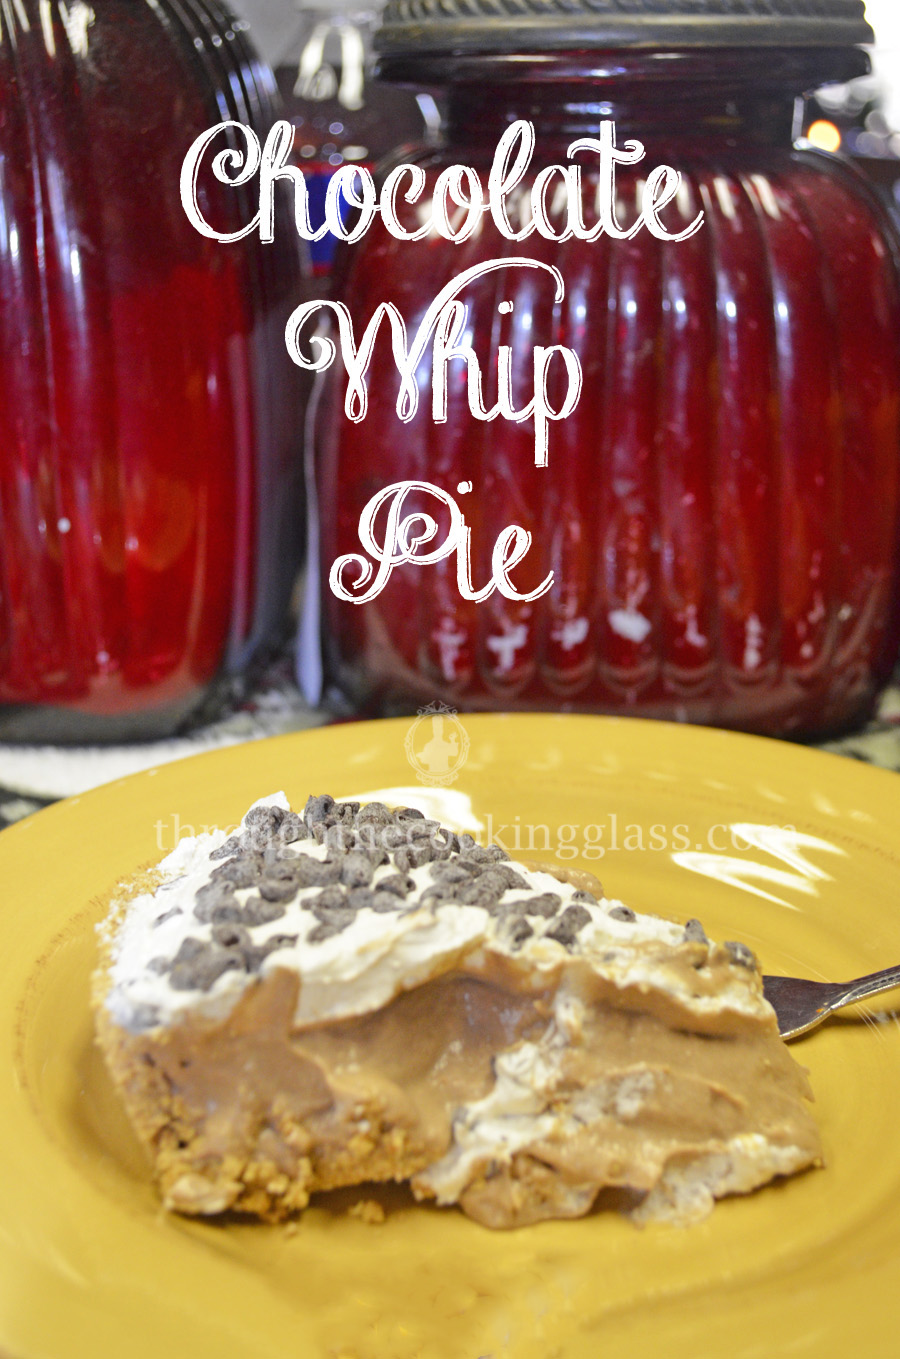
Because this pie contains dairy, keep it covered in the refrigerator and return leftovers to the refrigerator promptly after serving. For the best texture, enjoy it within three to four days. Pressing plastic wrap directly against the cut edges helps keep the filling from drying out, while a pie carrier protects the topping from refrigerator odors and accidental bumps.
To make it ahead, assemble the pie the day before, cover it, and chill overnight. Add crunchy toppings or fresh fruit shortly before serving. You can also freeze the pie, well wrapped, for up to one month; thaw it overnight in the refrigerator. The filling may be slightly softer after freezing, but the flavor will still be delicious. Do not thaw it on the counter.
Quick Troubleshooting
Pie too soft? Chill it longer and make sure the whipped topping was folded in rather than beaten aggressively. Lumpy filling? The cream cheese was probably too cold; next time, soften it fully and beat it smooth first. Crust crumbling? Keep the disposable pie tin under a store-bought crust while slicing, and use gentle pressure with a sharp knife.
Do You Love Chocolate?
Chocolate and Whipped Peanut Butter Cake Roll
Items and Ingredients Used in This Recipe
If you are interested in any of the items I used, or similar ones, I have listed a few below. Note: These are affiliate links, which means I may receive a small commission from qualifying purchases. Your price remains the same.
If you like this or any other dish on my site, please feel free to sign up for the weekly email where you can see what new recipe we have created over here. Just look over to the side and you’ll find the “sign up” button.
If you have any questions or see any “blooper” we made, please don’t hesitate to contact us. We’re all human.
This post may contain affiliate links. Please view my disclosure policy for more information.
Rock on!
~Bobbi

Chocolate Whip Pie NO BAKE
Equipment
- Stand Mixer/Hand Mixer
Ingredients
- 1 6 oz Graham Cracker Crust
- 1 Can (21 oz) Chocolate Creme Pie Filling
- 1 Tub (8 oz) Cool Whip, thawed, divided
- 3 Oz Cream Cheese, Softened
- 1/4 Cup Sugar, White
- 1/3 Cup MIni Chocolate Chips Optional

Instructions
- In mixer or medium/large bowl, combine chocolate pie filling, 4 oz of cool whip, cream cheese and sugar. Mix well for 2-3 minutes.
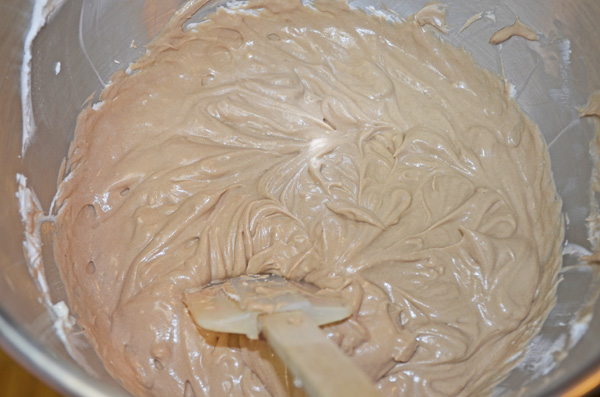
- Pour pie mixture into pie crust.

- Top with remaining 4 oz of cool whip.

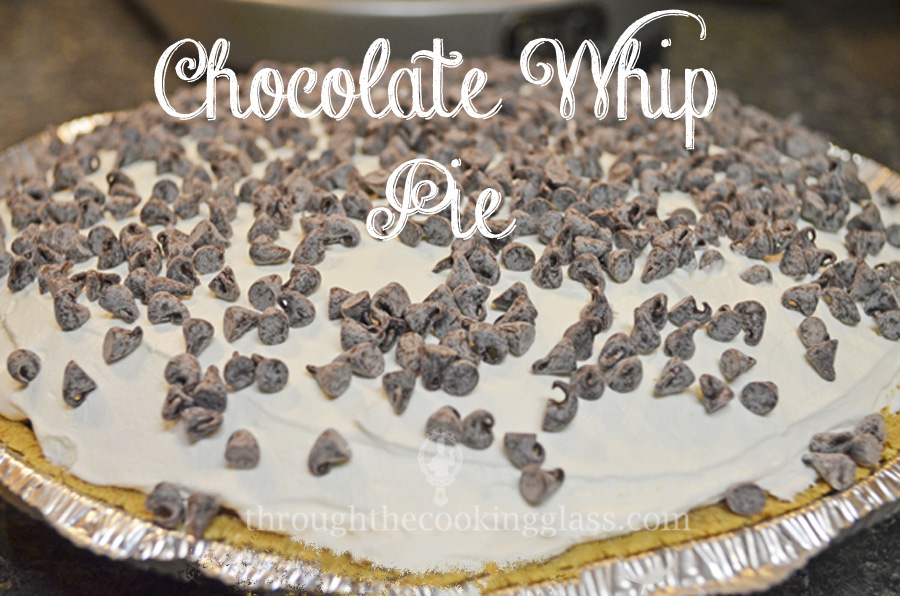
- Sprinkle with mini chocolate chips. Optional. Place in refrigerator to set overnight, or at least 3 hours. Serve cold. Keep refrigerated.

Notes
Nutrition


